Thursday, March 21, 2013

Recycle

I broke a glass plate...

Uh...ohh! That was my first reaction when I heard the glass shatter behind me. The plate was on the chair next to the swivel chair I was sitting on. I had kept the plate on top of a heavy book that was on top of a box holding my quilling and all of this on the chair next to me. When I had turned my swivel chair it had set a Rube Goldberg's  reaction (look up Rube Goldberg on internet if you haven't heard of him) finally resulting in the plate falling down with the heavy book lying on top of what used to be once upon a time a glass plate.

My initial Uh...ohh reaction turned to a WOW when I turned my chair to look at the remains of my plate. This is what I saw!

 
The glass pieces had spread all over the room reaching every nook and corner, making a pattern. If I would have been a scientist, I would have come up with a whole lot of physics calculations and theories about the pattern the glass pieces made on the floor.

But being of an artistic mind, I thought I had to use these pieces for a work of art. So I got a broom and very carefully collected the shattered plate.


I took out a canvas, some of my pre-quilled pieces from the pile of boxes (yipeee... I used my quilled pieces this time), gloves, quick fix glue and set to work. Here is the result! All the quilling work here has been done using the comb except the tiny leaves that have been quilled with the slotted tool. The vase has been made by weaving with quilling strips! The canvas size is 32 cm by 40 cm.


I have put up so many pictures trying to see if any of them do justice to the real thing. Well I would say not quite! The real thing is so much better!

I am entering this post in the

  1. Spark Your Creativity Now! Anything Goes Challenge #7 at Pin and Track 
  2. Challenge #52: Anything Goes at TuesdayAlchemy

If you find my work inspiring and create something similar, please quote my work and blog in your post. Thanks for visiting!


Saturday, March 16, 2013

Just Circles

A while ago, I had cut a lot of coloured paper using my hand paper shredder. The edges of the paper cut using the shredder are usually unusable as they are not straight, but the paper that I was cutting was around 80 cm long so although the paper was not straight, I still thought of recycling it. I quilled them into loose coils and they looked pretty nice. But they  have been sitting like that for about 3 months somewhere in the back of my cupboard. The other day when I decided to use all my quilled pieces lying in boxes, I found these circled beauties. Just did some modification to them to neaten out the not straight ends and here is the result.


I am entering this post in the

  1. Challenge #52: Anything Goes at TuesdayAlchemy


If you find my work inspiring and create something similar, please quote my work and blog in your post. Thanks for visiting!


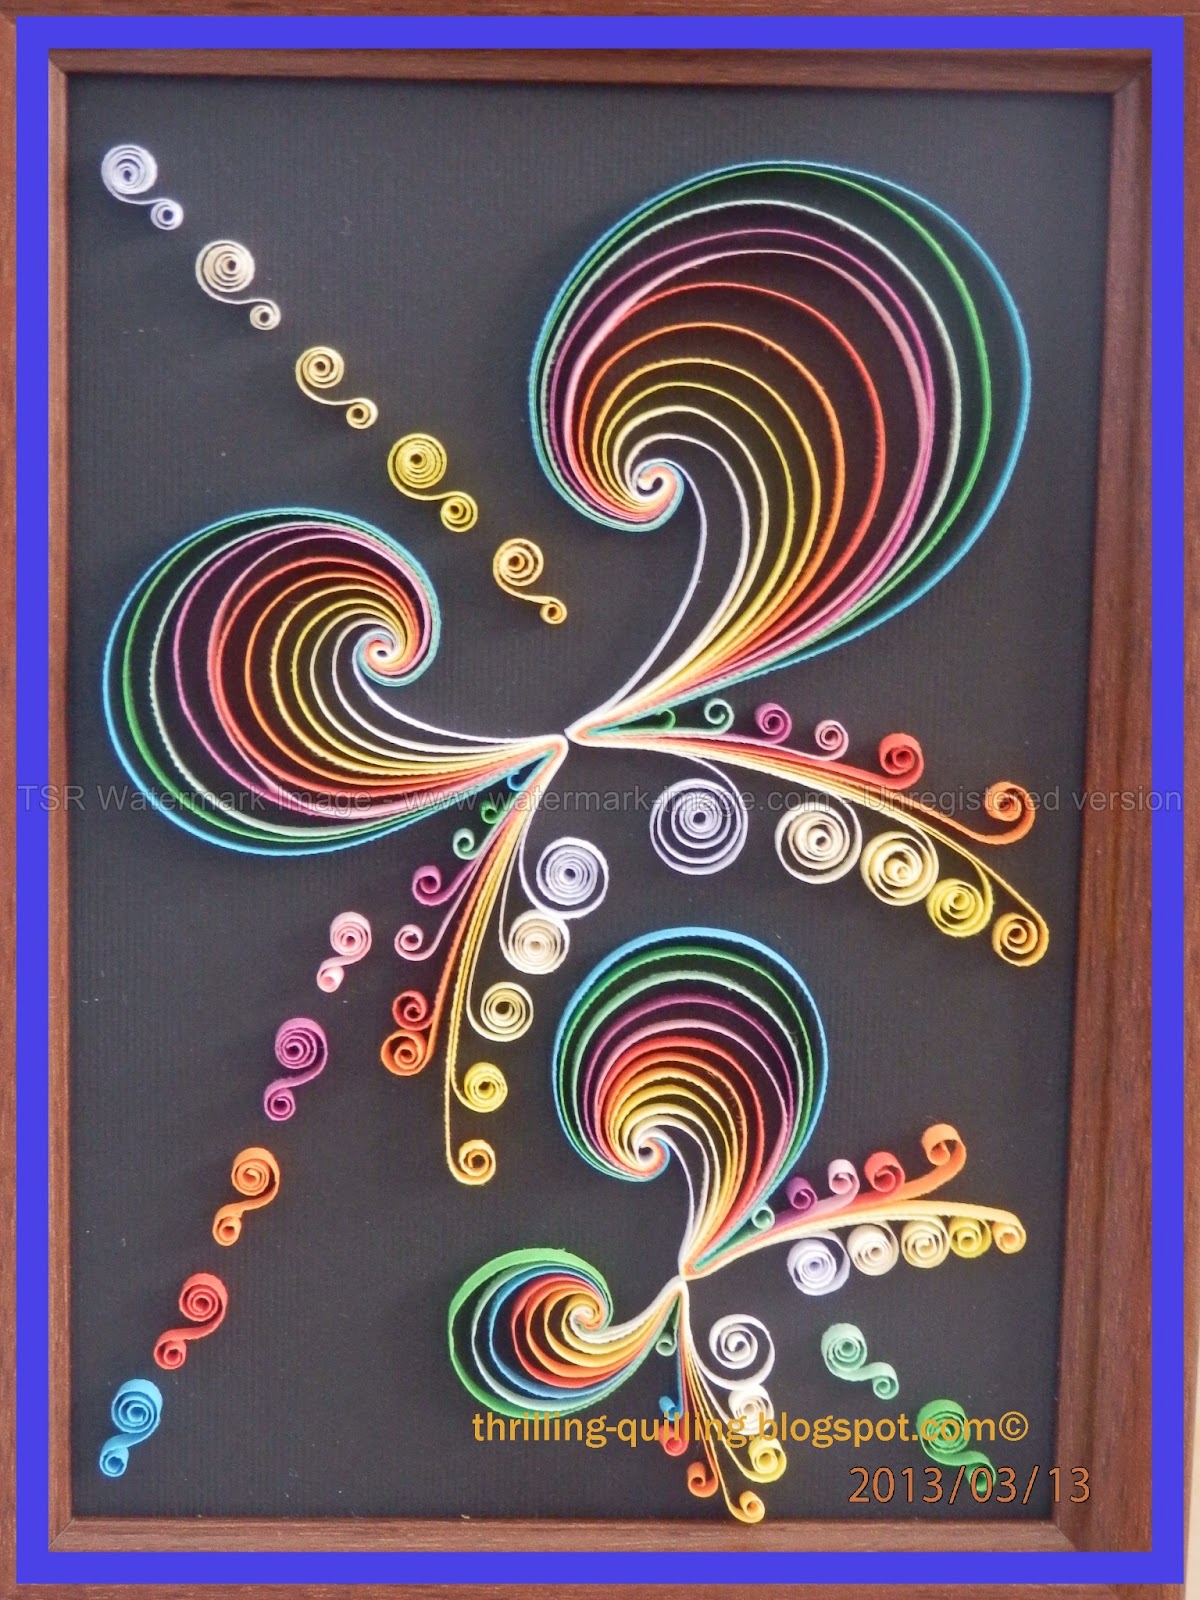
Free flowing

If you are anything like me, I am sure you would be having boxes of quilled flowers or random pieces that you have quilled to practice something you just saw on the internet or just quilled because you were trying out an idea or colour combination.
 I have so many random quilled pieces stored in boxes that I thought its high time I started using them.

Here are some of my pre quilled pieces in boxes.


 So I got some frames from trusty old Daiso and got down to assembling them. Here is the result. Of course, to get the effect I really wanted, I had to quill more pieces, so in the end, I only used a few of my big pile of pre-cut paper strips but none of the existing quilled pieces for this frame. Ha ha!

I love the neon effect, the coloured strips make on the black background.


If you find my work inspiring and create something similar, please quote my work and blog in your post. Thanks for visiting!

Tea for two...

It was time to try out some 3 dimensional quilling on my own. So I decided to try making a tea set.


For the tea set, I have used 3mm and 1.5mm hand cut blue strips.
A front view of the tea set. As you can see the outside colour of the teacups looks different from the inside colour. That's because I have painted the finished pieces with Fevicryl Pearl Blue paint.

And of course the lid of the tea pot does open! It fits in snugly with a tight fitting when closed so even if you invert the tea pot, the lid will not come off.
A close up front view of the pot.

 And the lid of the sugar pot opens too. You can visualize the size of the set by comparing it with the pin head in the picture.


A close up view of the tea cups.

I had initially painted the spoon blue too before realizing that it is the silverware! So you still see a lot of blue under the silver tint in the spoon.

 And of course the table is also quilled. I have used hand cut paper strips here that have the while showing through the edges. Hence a very matte finish.
 The table view from side.


 I am linking this post to The First Annual ItsyBitsy Craft Awards 2012-2013 in the category, Box or 3D Project of the YearIf you like my work, please vote for my entry at http://itsybitsyindia.blogspot.ae/2013/03/the-first-annual-itsybitsy-craft-awards.html


If you find my work inspiring and create something similar, please quote my work and blog in your post. Thanks for visiting!


Friday, March 15, 2013

My 3D quilling homework

I have been looking at such beautiful 3 dimensional quilling pieces on the internet and I had to give it a try. The pictures I present here of the quilling pieces are done by me but in no way my original creations. They are just reproductions of the tutorials I have followed to help me get an understanding of 3 dimensional quilling.

Some quilling miniature plants in pots.

These flowers look so adorable. They are slightly bigger than the pinhead shown in the picture.

I followed the tutorial by Tammy on YouTube at this link.

 The cactus are really simple to make. But they look like real. Again Tammy's tutorial at this link.

A scale to show their real size.


And a quilled cute little piglet!

I found the tutorial for this cute little piglet on the internet. I had made it a long time ago and only took its picture now. I think it was on Pritesh's blog, http://quillingmesoftlee.blogspot.com.  And now when I am trying to look for the tutorial again, I just cannot find it.
You would surely not want to miss a peek at its sqiggly tail!


Thanks for visiting!

Wednesday, March 13, 2013

Back Again

Its been almost a year since I last posted. Have been busy with life in general. Its not that I have not been quilling at all in this past year, its just that I have not posted anything. I always come back to quilling when I need relaxation but then soon it turns into obsession and I have to force myself to put all quilling tools away under lock and key as my other work starts getting neglected. Working from home requires a lot of discipline!

In the next few posts I plan to upload some of the pieces waiting to be part of my blog. I start here with some framed quilling work.

For the double fringed flowers I took inspiration from Inna Dorman's tutorial that you can find here.


For this creation I have used the combing technique to create the leaves. A tutorial by Lin is available here.
The trisula flowers are inspired by Tri Puji Lestari.

This assembly is an attempt to create the famous Neli's quilling.


If you find my work inspiring and create something similar, please quote my work and blog in your post. Thanks for visiting!
Related Posts Plugin for WordPress, Blogger...