Tuesday, February 17, 2015

Paper bead jewellery sets

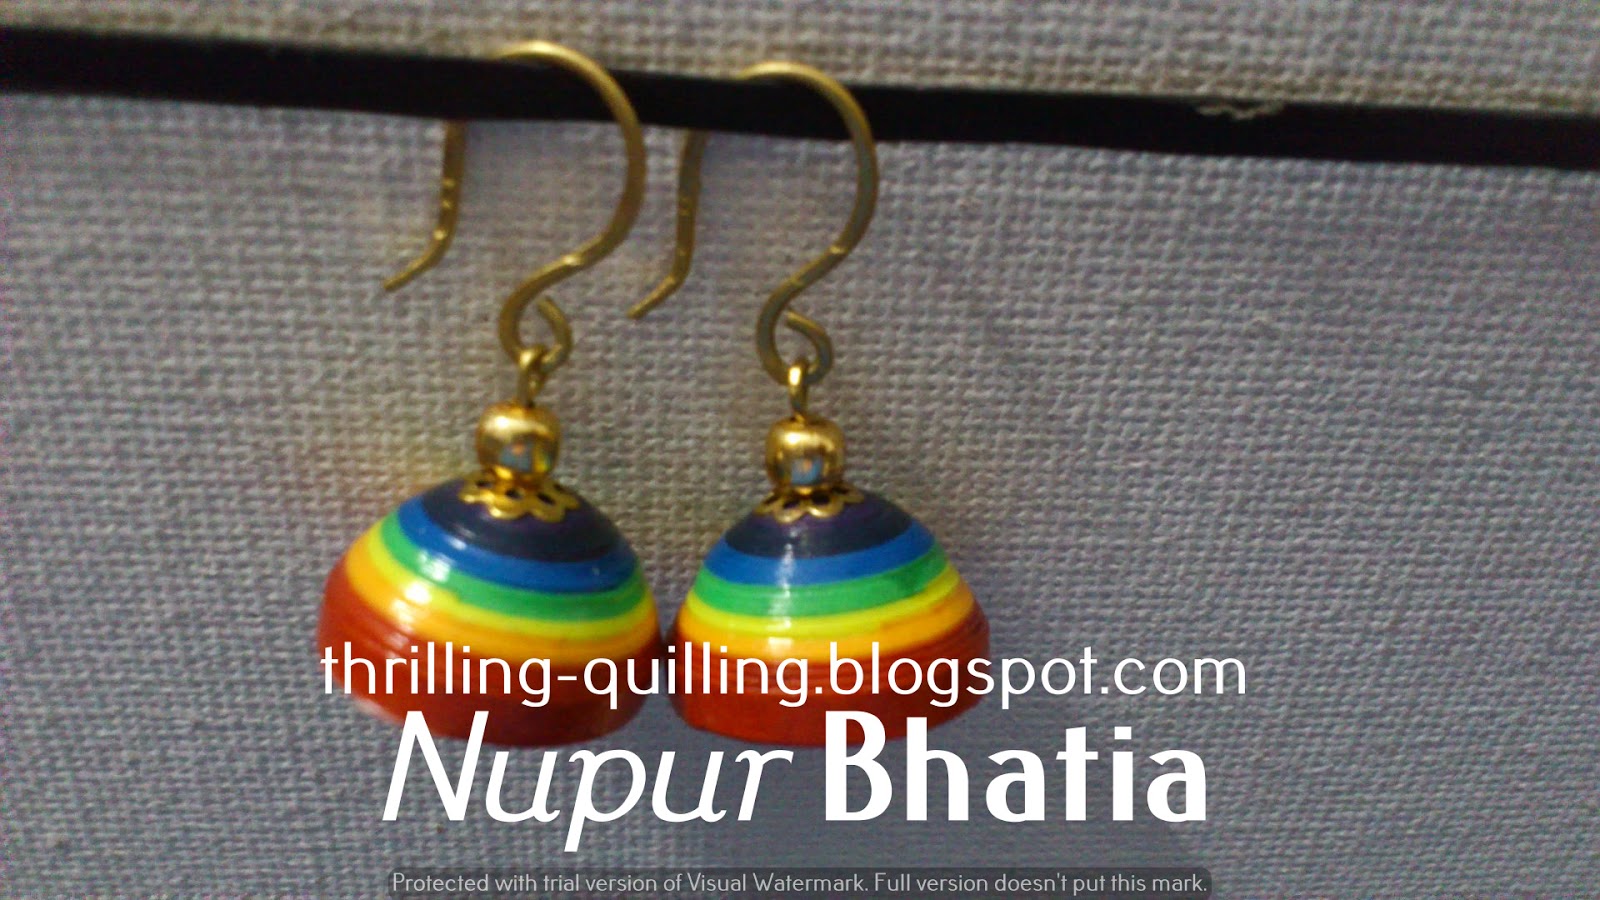
I love to wear my paper bead jewellery with pride when ever I am meeting friends. Recently I wore this set to a party and when talk got around to my unique jewellery, I explained that the beads were made with a recycled cornflakes box. In this era of recycling, you can imagine the excitement this created. Everyone wanted to find out how I made it and if I take orders!

So these are the 2 sets that I made with one cornflakes box.

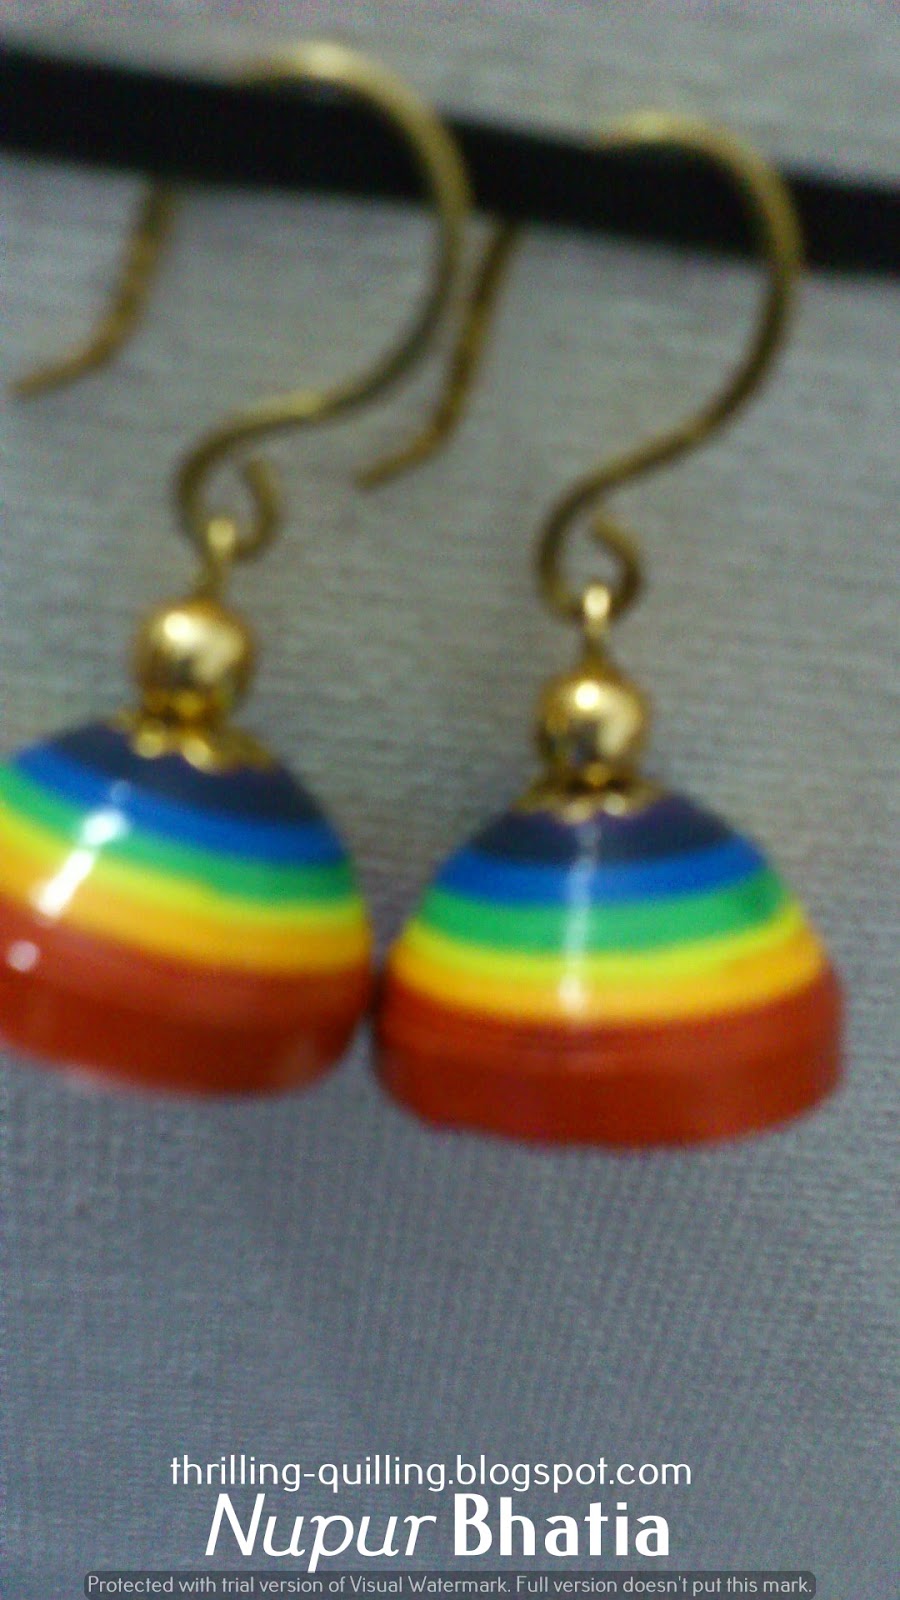
The green and red one was the first one that I tried. I applied the paint after making the beads. It is a bit noisy and loud in color, but not bad for a first try. And with a matching dress it goes quite well.


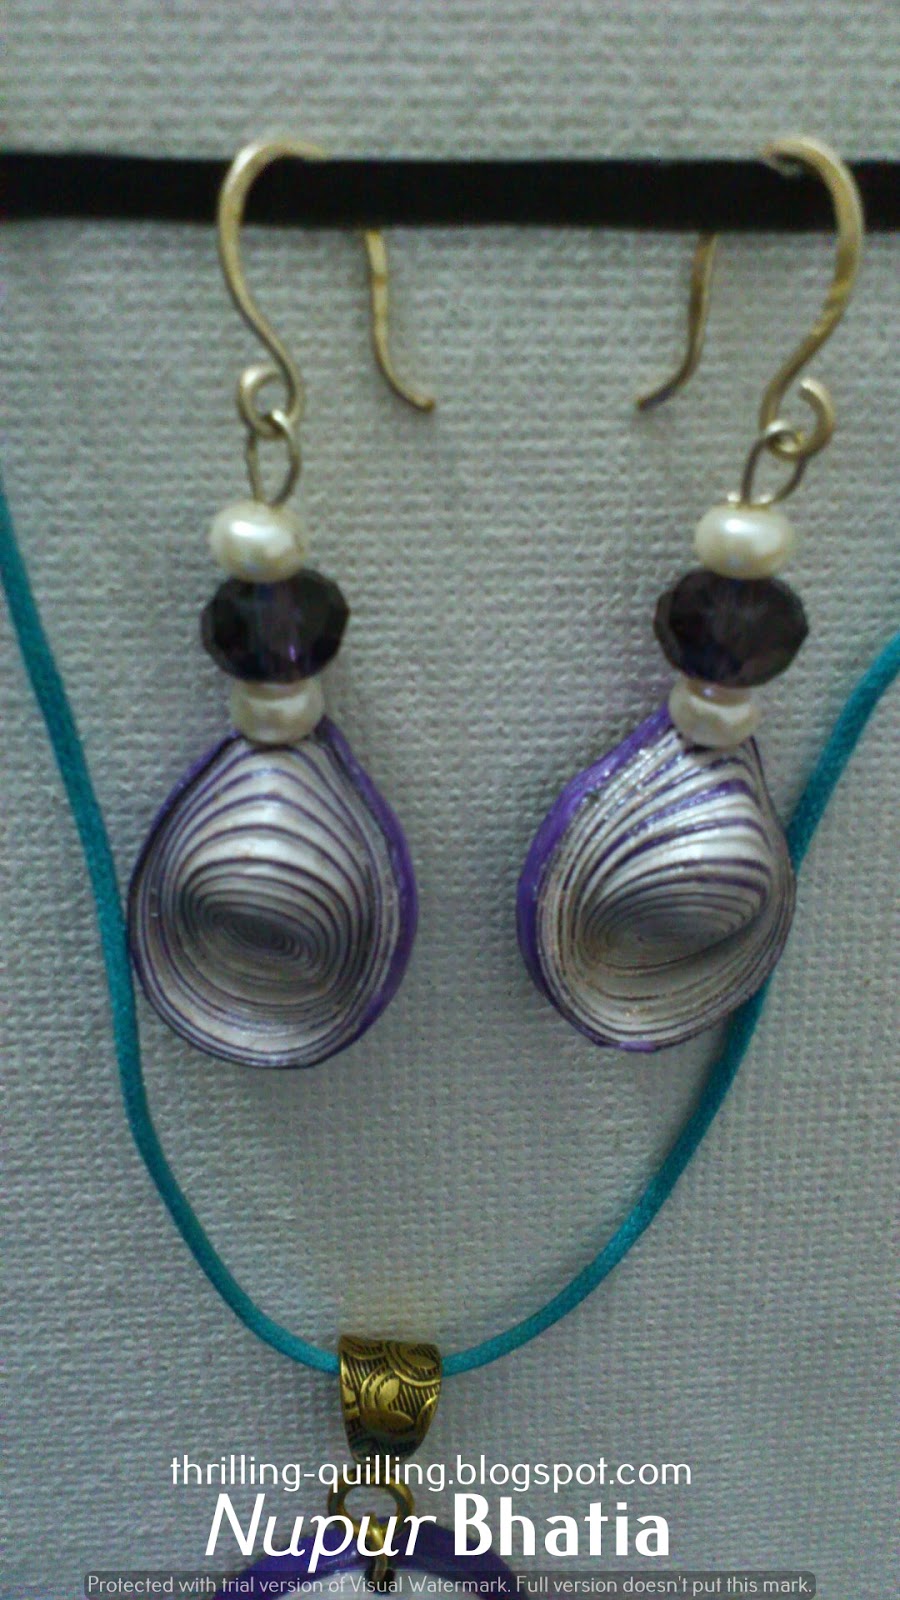
This is the set that I mentioned in the beginning of the post that I had worn to the party. Here I painted the edges in copper colour before rolling the strips. I have also used semi precious turquoise gemstone beads to complement the paper / cardboard beads. I love the colours here and the royal touch that the turquoise beads are lending.


If you find my work inspiring and create something similar, please quote my work and blog in your post. I would also appreciate if you leave a comment. All artists do need a pat on the back! Thanks for visiting!

Wednesday, February 11, 2015

Quilled Rose Tutoriial

Browsing on Facebook, I saw a question from Nandini on a Quilling group that what size quilling strip is suitable for making a quilled rose. My response to this was it really depends on what size you want for your finished rose. And then I remembered that I had pictures of roses that I had made with 3 mm strips and also one that I had made with a 2 inch or in other words close to 50 mm wide strip. So I uploaded them promptly on the group and that started a string of comments with a request for a video on making roses with 3 mm strip.

So here is a tutorial for making quilled roses with 3 mm strips. It is practically my first video tutorial. So thanks to Pratima for this request which helped me break the video making inhibition.

Here are the rose pictures that I took 2 years ago with the 3 mm and 50 mm strips. Notice the rose size difference between the 2 different sized strips. The red rose with 50 mm size strip is the size of my hand. The size difference is clearly visible in the 4th picture.


And here is the link to the video tutorial for making the rose with 3 mm strip. I tried compressing the video but it is still too large for me to be upload it here directly. So follow the YouTube link below to see the video.


Here is the rose size comparison that I showed in the video.


You can view a finished card with 3 mm roses in one of my old Valentine cards post here.

If you find my work inspiring and create something similar, please quote my work and blog in your post. I would also appreciate if you leave a comment. All artists do need a pat on the back! Thanks for visiting!

Thursday, February 5, 2015

Jhumka Sets

It is so heartening to see that people from all over the world visit my blog. Today my blog touched the magic figure of 100,000 page views!!! Thanks to all my blog readers for your continued support and encouragement!

Continuing with my current obsession with jewellery making, here are some quilled jhumkas that I have made in the past month. This time I made a matching pendent to go with the jhumkas. Being a novice in the field of jewellery making, it is always fun to try out different embellishments/findings to see what looks the best in the finished piece. The ear hooks and the first pendant bail have been handmade by me with 20 gauge wire.


If you find my work inspiring and create something similar, please quote my work and blog in your post. I would also appreciate if you leave a comment. All budding artists do need a pat on the back! Thanks for visiting!
Related Posts Plugin for WordPress, Blogger...